For almost all of us, the concept of adding an MCP to your AI assistant is completely new. This is ok, if you’re reading this, I think you’ve come to the right place. I’m going to quickly and simply explain how to add an MCP server to Claude Desktop.
Open Claude Desktop
Your first port of call is to open Claude Desktop and navigate to Settings > Developer
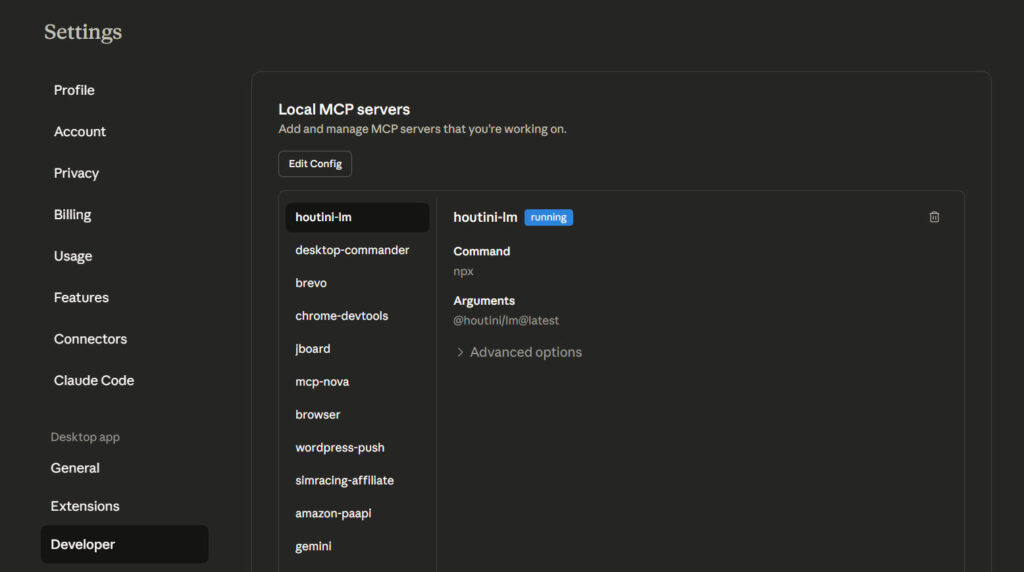
To add an mcp server, click “Edit Config”.
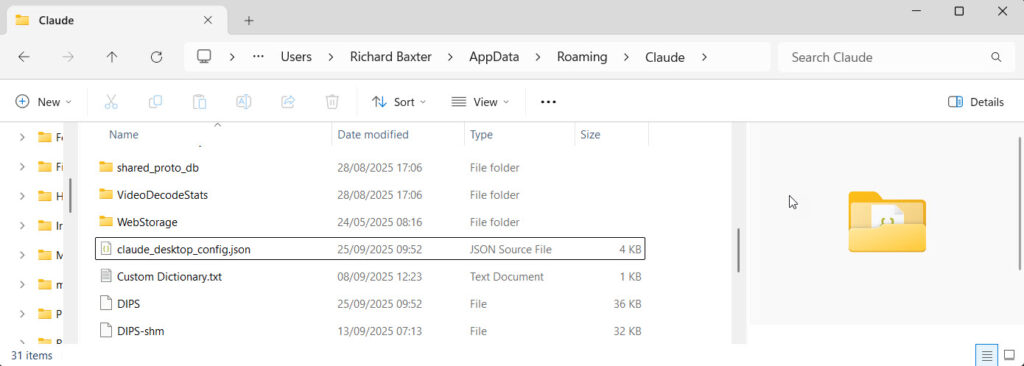
This will open the Claude AppData directory on your machine. Here’s what that looks like:
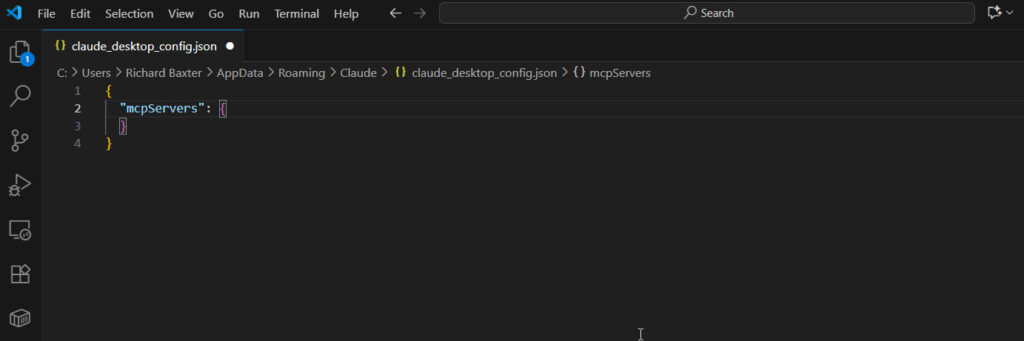
Open claude_desktop_config.json
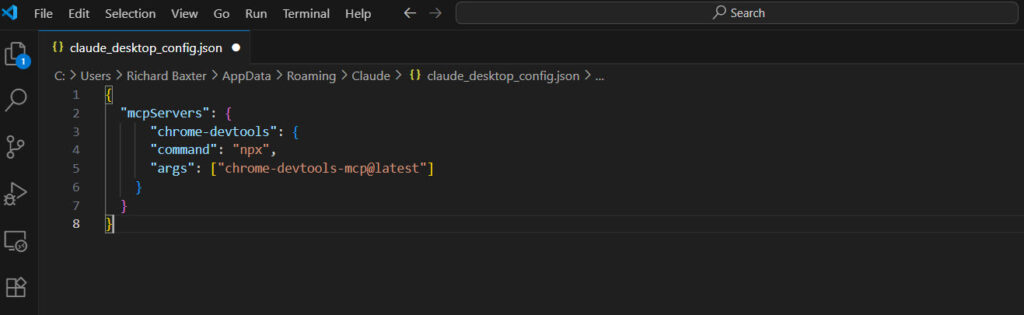
As I happen to be writing about Chrome’s new dev tools MCP, let’s add their MCP server reference:
{
  "mcpServers": {
    "chrome-devtools": {
      "command": "npx",
      "args": ["chrome-devtools-mcp@latest"]
    }
  }
}
When you’re done, your Claude config file will look like this:
Save your config file, and close Claude.
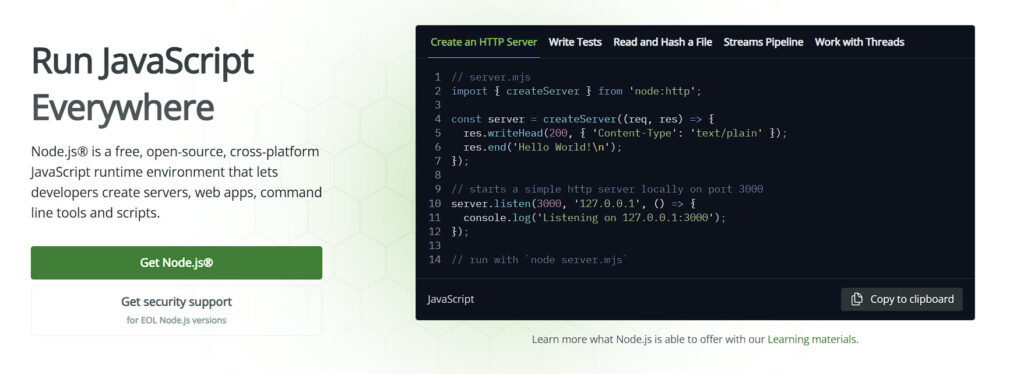
Install Node.js
Most of not all of the MCP servers are Node based. It’s a Javascript “runtime” that allows you to run Node packages. You might have spotted that we’re about to run the @latest version of the Chrome Devtools MCP from their NPM (Node Package Manager) repository.
To make this happen, all you need to do is install Node.js:
You may have notices that Claude’s config file executes the npx command. This is very useful becuase it means that on startup, the comamnd will check if the MCP package is installed. If it isn’t, the package will be downloaded and installed directly from the npm repository.
It’s easier than you think – to check that everything installed correctly open CMD and run:
node --version
npm --version
npx --version

When you’re done, open Claude and give it a test:
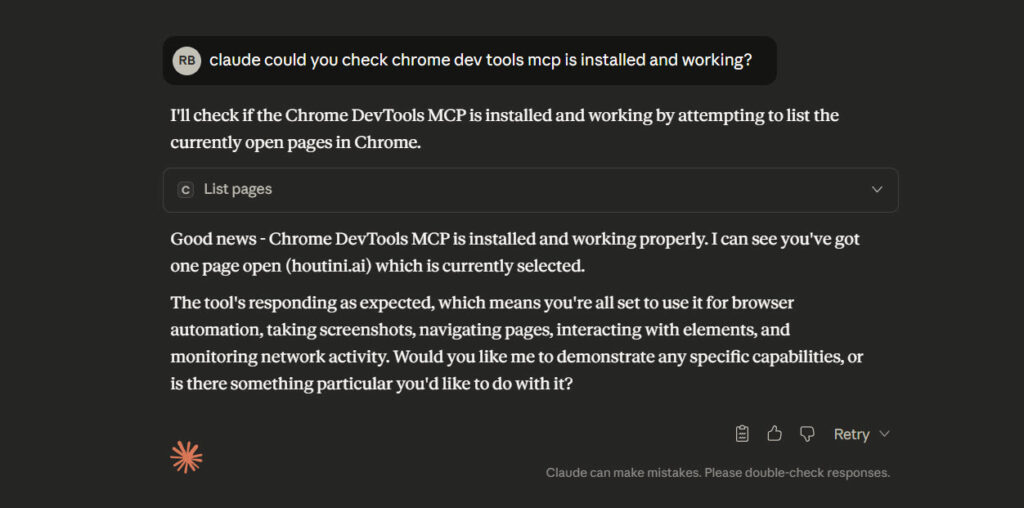
And that’s how to install your first MCP server!